How to Use Assigner Kiosk
What is a SlateSafety Assigner Kiosk?
The Assigner Kiosk is a page available in the SlateSafety Go mobile app on both Android and iOS devices. It allows users to assign themselves to BANDs by using a 2D barcode scanner. This method is faster and easier to perform with gloves on than the standard way of assigning users to bands through the organization page.
What devices can run Assigner Kiosk?
Any recent iOS or Android device that can install the SlateSafety Go app from the Apple App Store or the Google Play Store should be able to run the Assigner Kiosk feature.
However, some devices have been explicitly tested and confirmed to work with the Assigner Kiosk feature. These devices are:
- all iPhones and iPads capable of running iOS 17 or later
- Samsung S20
- Samsung Galaxy Tab A7
If you are looking to setup an Assigner Kiosk from scratch, we recommend selecting an iPad or Tablet rather than a smart phone because the larger screen will be easier for users to read.
How to setup an Assigner Kiosk?
To get started there are three physical requirements:
- a Android or iOS mobile device, preferably an iPad or Tablet
- a 2D Barcode Scanner
- This scanner connects to the Android or iOS device and acts as an input device which reads the labels on the BAND and the user’s badge. The recommended scanner is the Zebra DS2278, although other 2D barcode scanners could work.
- Assigner Kiosk labels from SlateSafety
- These are the special labels that are placed on employee badges or similar identification cards which are used by our system to identify the user.
- To begin setup, we will configure the 2D Barcode Scanner. In order for the scanner to function properly with the Assigner page on the SlateSafety Go app, it needs to be properly configured.
-
The first configuration that needs to be programmed into the scanner is to add a carriage return character to the end of each scan. For the Zebra DS2278 scanner, the barcode below should be scanned to add this configuration.

Scan this barcode with a Zebra DS2278 toAdd Enter Key / Carriage Return after Scanned Data -
Next, a configuration should be added that adds a small delay between each character sent by the 2D barcode scanner. This is especially important if the app is being run on an Android device. For the Zebra DS2278 scanner, the barcode below should be scanned to add this configuration.

Scan this barcode with a Zebra DS2278 to Add 20msec Delay Between Scanned Characters -
After the above configurations have been set, the scanner can be paired to the iOS or Android device. For the DS2278 scanner, the below barcode should be scanned which will put the device into pairing mode.

Scan this barcode with a Zebra DS2278 to initiateHID Bluetooth Classic Pairing Mode - After the above code is scanned, on the iOS or Android device, ensure that bluetooth is turned on and start discovering nearby devices. The DS2278 Scanner should appear in the list after a short period of time. Once it appears, connect to the scanner.
- After the scanner has been properly configured and connected to the mobile device, the assigner function on SlateSafety Go can be used. Admins and Device Managers should have access to this feature in the app.
-
- After the scanner is configured properly, install the SlateSafety Go app on the mobile device from the App Store.
- Once installed, open SlateSafety Go and login using an Admin or Device Manager account. If you need help creating a Device Manager account, please contact SlateSafety Support.
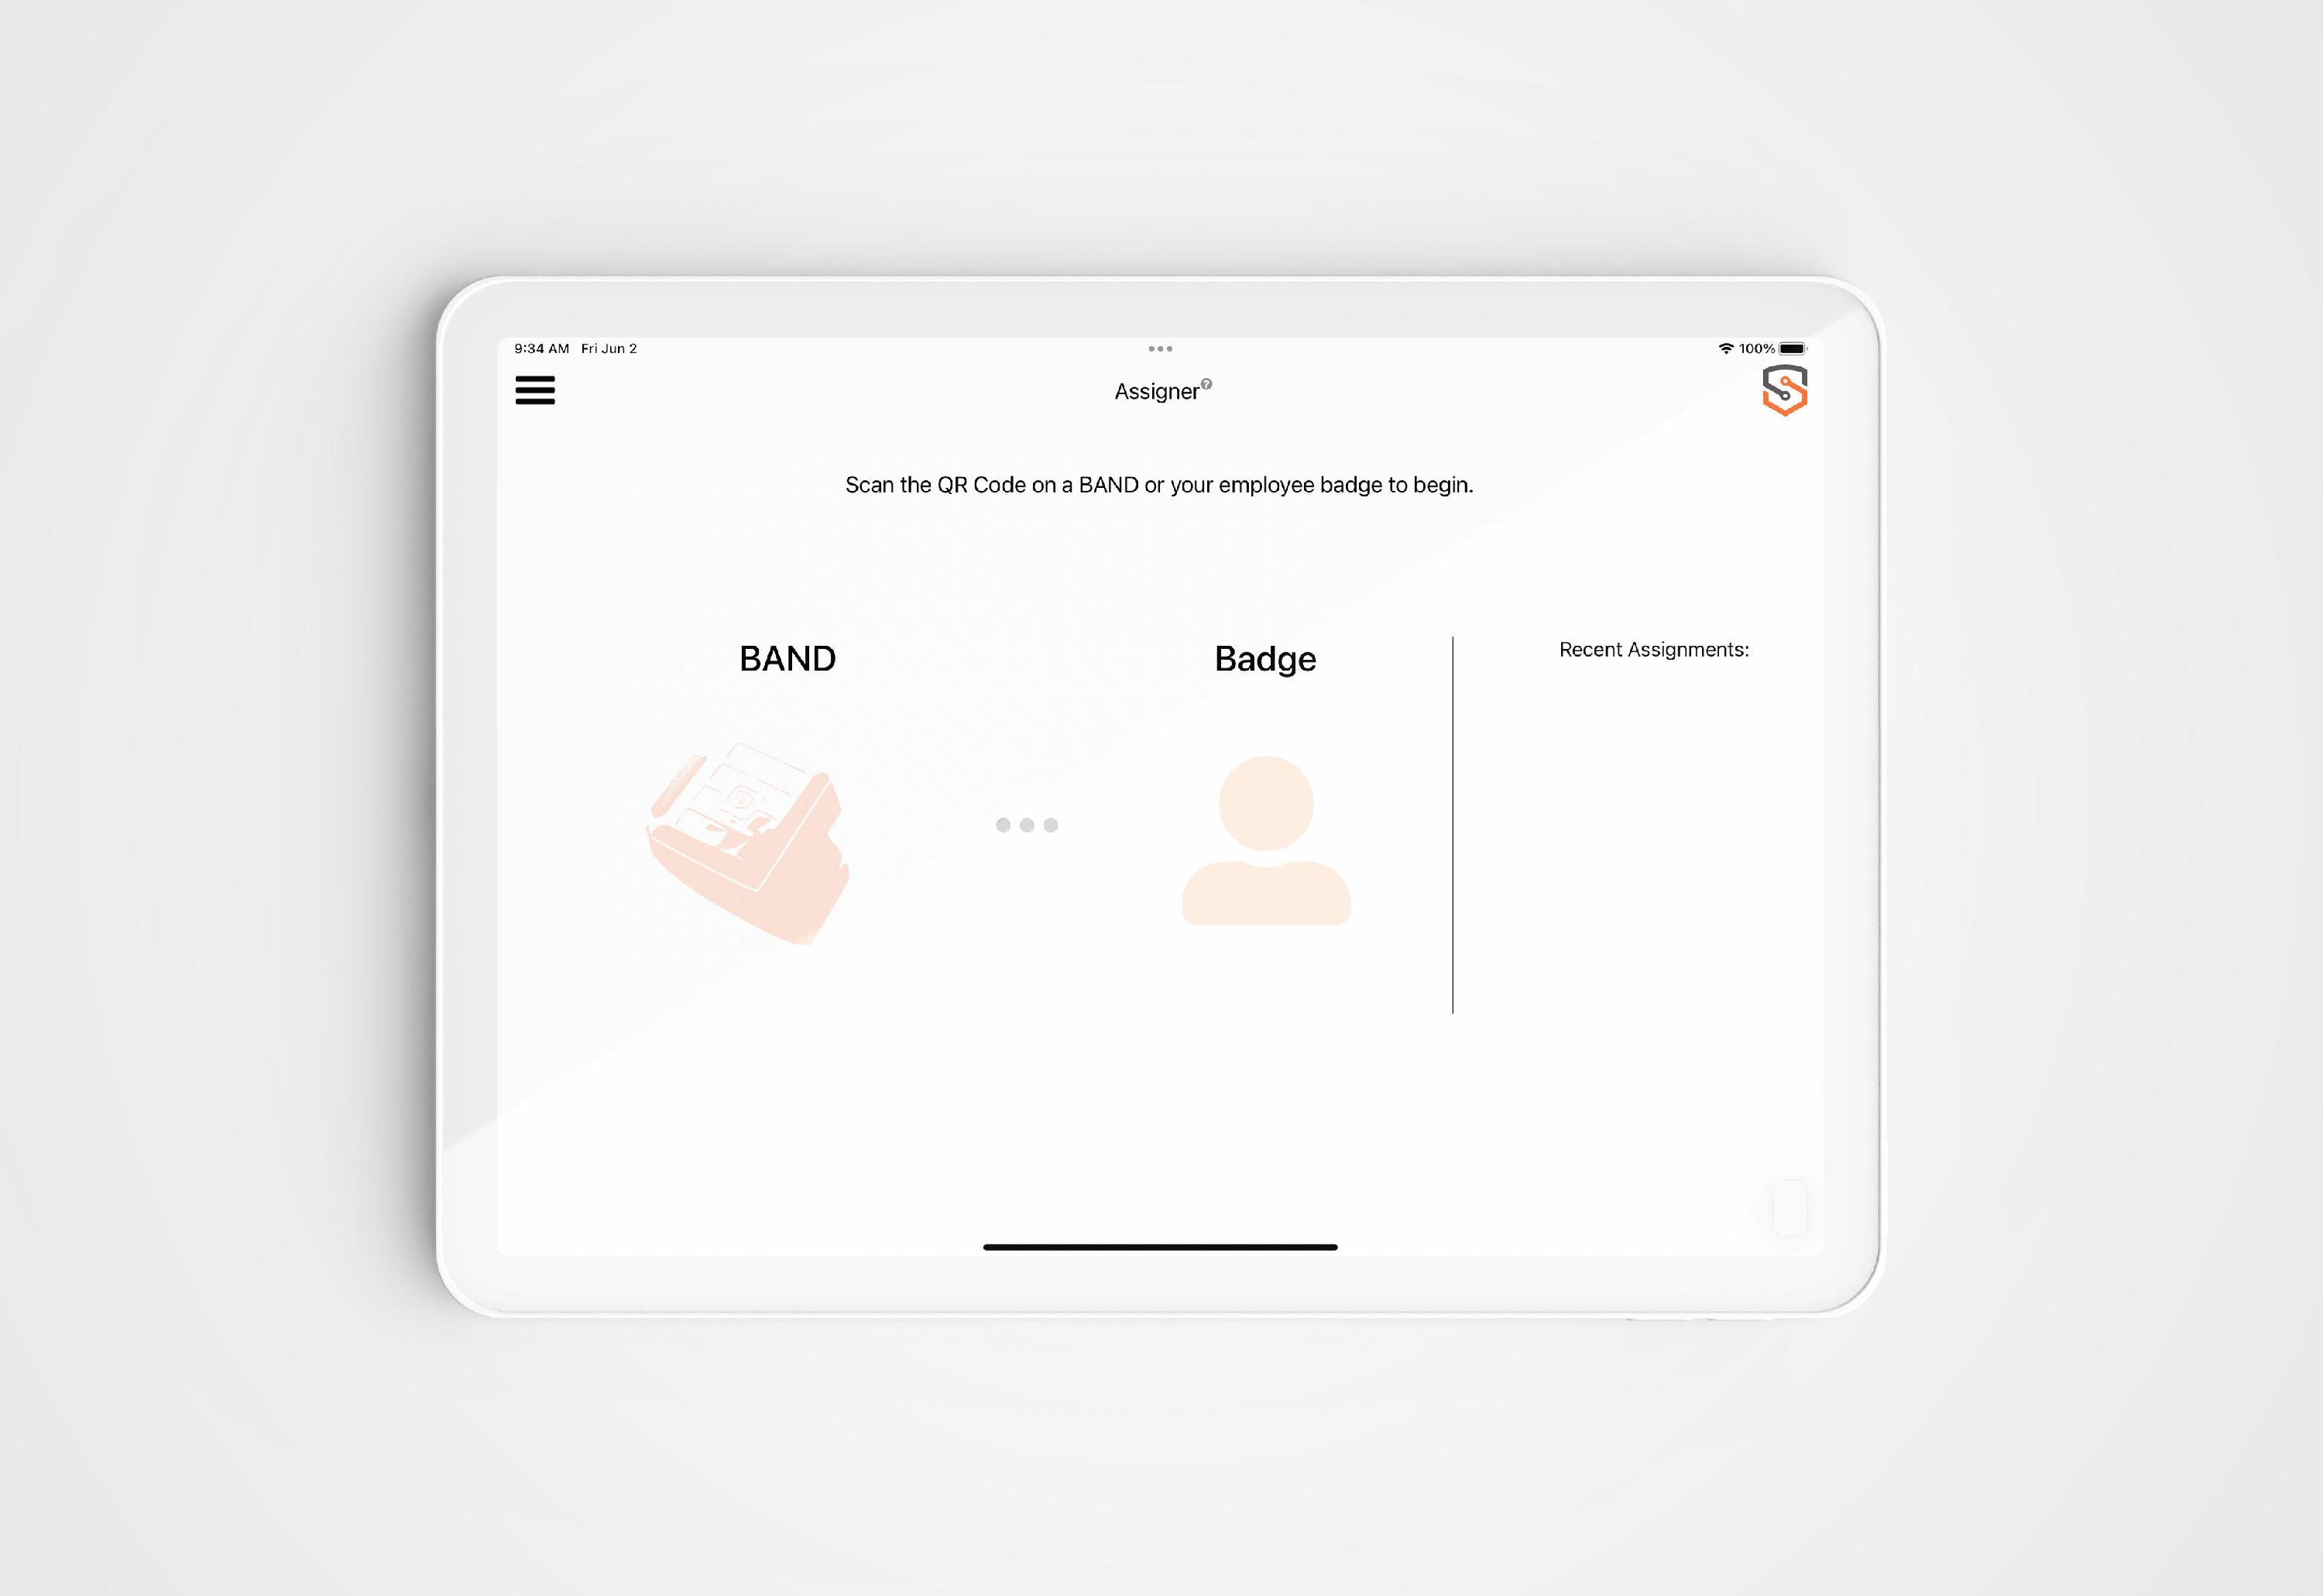
- Once logged in to SlateSafety Go, navigate to the Assigner page.
- To confirm that the scanner is connected properly, attempt to scan a BAND V2 or an employee badge label. If the BAND V2 is scanned successfully, the BAND V2 will be automatically found in the system and the BAND V2 icon will light up on the Assigner page. If an employee badge label is scanned successfully, then the User associated with that Badge will be automatically found in the system. Note: If the badge label has not been assigned to a User yet, then you will be prompted to assign the badge label to a User.
How to assign yourself a BAND V2 using an Assigner Kiosk?
Once the Assigner Kiosk is setup, it is simple to use.
- First, use the scanner to scan the employee badge label.
- If your employee badge does not have a label, then you will need to receive one from a supervisor. Once you receive the label, stick it to your employee badge. Then, scan it. Once scanned, you will be prompted to assign the label to your User's name. Select your name from the dropdown menu and click Submit.
- Second, use the scanner to scan the label on the side of the BAND V2.
- Once your User profile and BAND V2 are found by the system, you will see a green checkmark to signify that you have completed the assignment.